
Materials Needed:
- 4–5 mm cotton cord or t-shirt yarn (beige or your preferred color)
- 5 mm or 6 mm crochet hook
- Wooden bases or lids (optional, for stability and design)
- Scissors
- Yarn needle
- Wooden handles (optional, for basket sides)
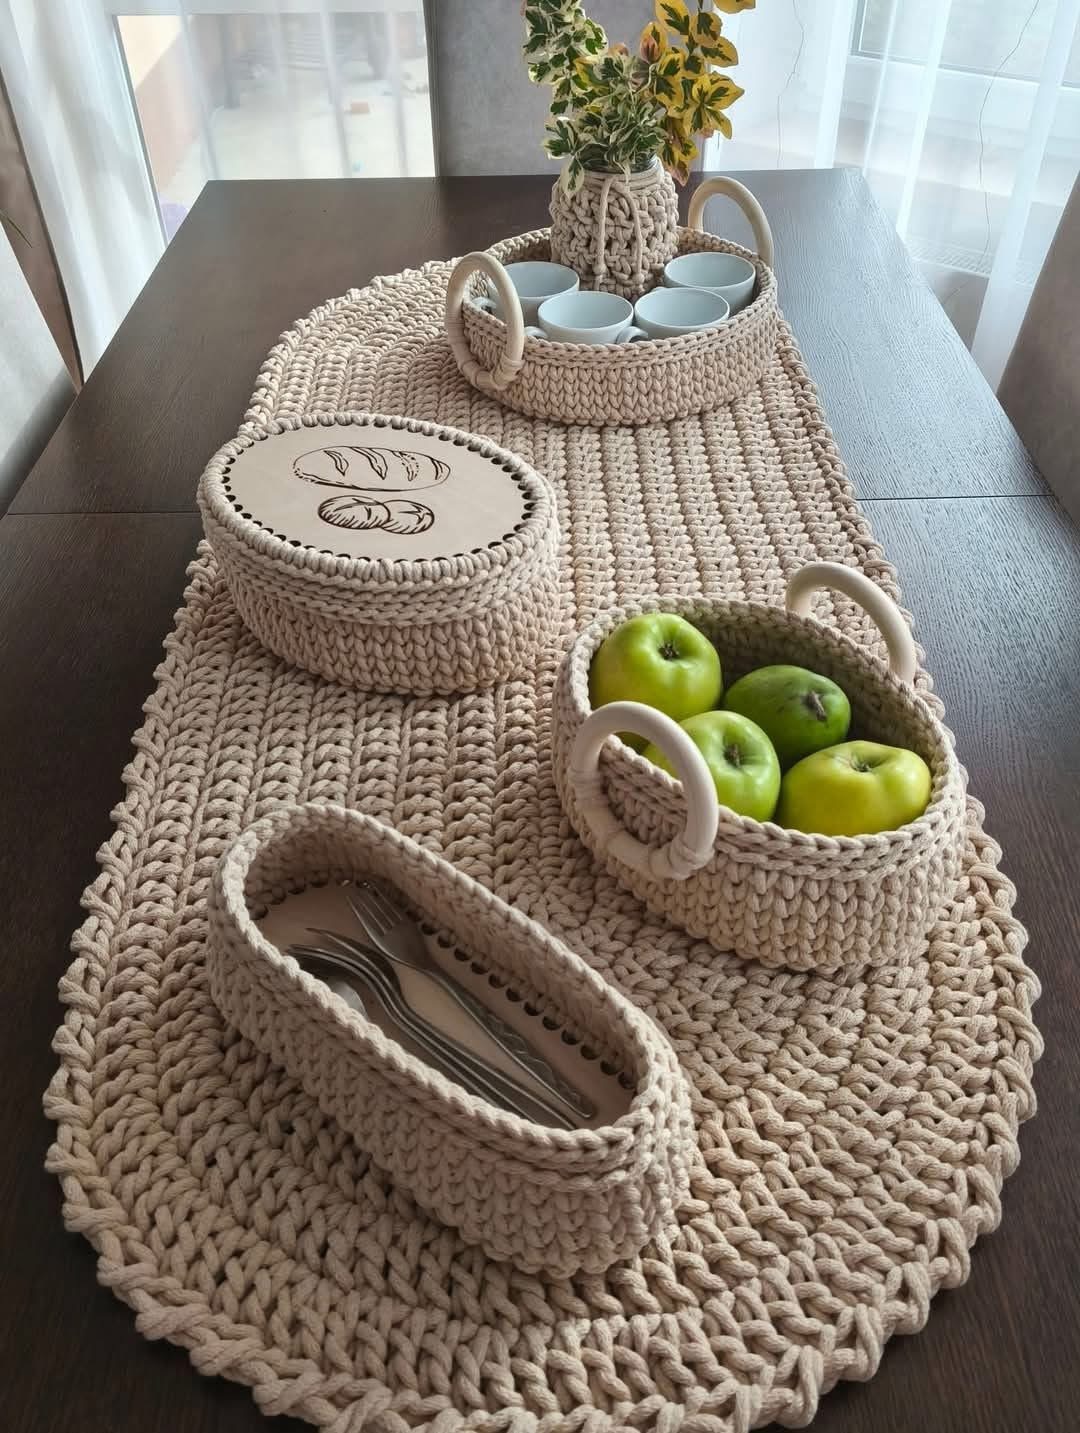
Methods & Formation
1. Crochet Table Runner Formation
- Foundation Chain:
Start with a chain as long as you want your runner to be. For example, 70–80 stitches for a medium table. - Row Formation:
Work half double crochets (HDC) across each row.
Chain 1 at the end of each row, turn, and repeat. - Shape the Ends:
To create the rounded ends, crochet around the corners with 2–3 stitches in each end stitch to curve naturally. - Border:
Crochet single crochets (SC) evenly around the whole piece for a neat finish.
2. Round Basket Formation
- Base Circle:
- Start with a magic ring and 6 single crochets (SC) inside.
- Increase each round by 6 stitches (2 SC in each previous stitch).
- Continue until the base reaches your desired diameter.
- Walls:
- For the sides, crochet one round through the back loop only — this helps the wall stand upright.
- Continue with SC or half double crochet (HDC) rounds until the basket reaches the height you prefer.
- Handles (Optional):
- Attach wooden rings or crochet loops on opposite sides.
3. Oval Basket Formation (for utensils)
- Base Formation:
- Chain 20–25 stitches.
- SC around both sides of the chain (forming an oval shape).
- Increase 2 SC at each end for smooth curves.
- Walls:
- Crochet through back loops only to lift sides.
- Continue in rounds until you get desired height.
- Edge Finishing:
- Add a slip stitch border or crab stitch for strength and elegance.
4. Covered Basket (with Lid)
- Base: Follow round basket base instructions.
- Lid:
- Make another flat circle slightly larger than the basket opening.
- Optionally, attach a wooden disc or leather patch for decoration.
- Finishing:
- Sew a small loop handle on top using leftover yarn.
5. Vase or Cup Holder
- Base: Make a small round base (5–6 cm wide).
- Body: Continue crocheting upward in HDC stitches to cover your vase or cup.
- Design:
- Add a drawstring or ribbon near the top for decoration.
Tips for Best Formation:
- Keep your tension even — tight stitches create sturdier baskets.
- Combine natural shades (cream, beige, sand, gray) for a soft, earthy look.
- You can stiffen baskets by spraying a fabric stiffener or sugar-water mixture and letting them dry.
Optional Additions:
- Embroider initials or designs on the lids.
- Line baskets with fabric for a polished interior.
- Add wooden or leather tags for labeling (e.g., “Tea,” “Cutlery,” “Fruit”).