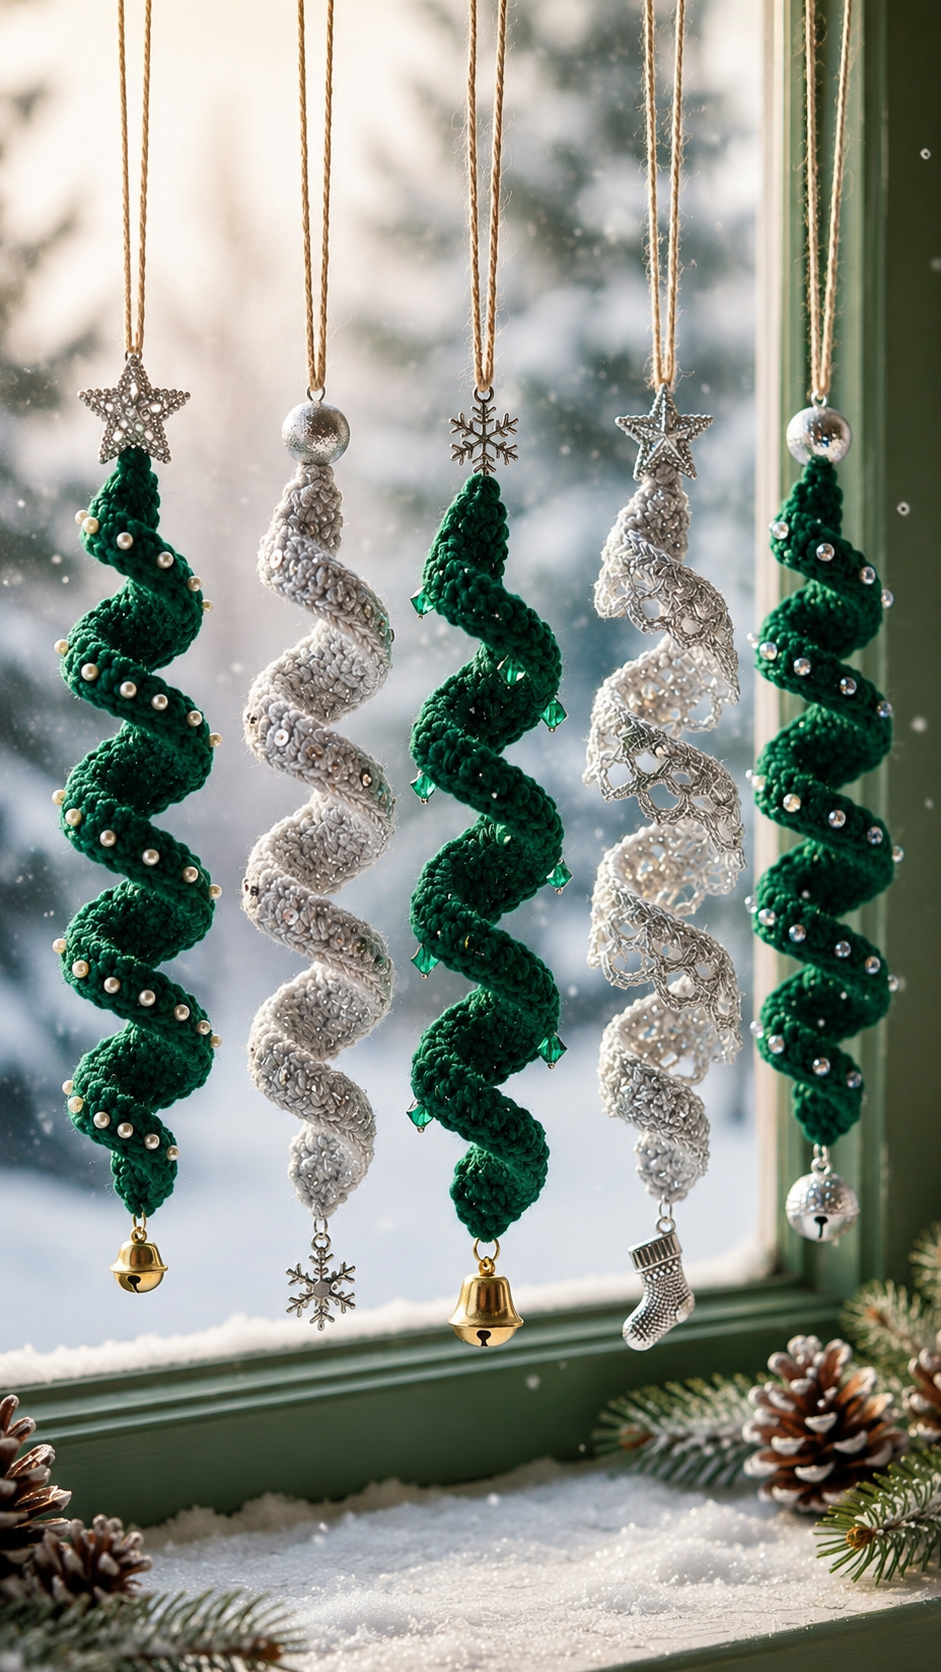
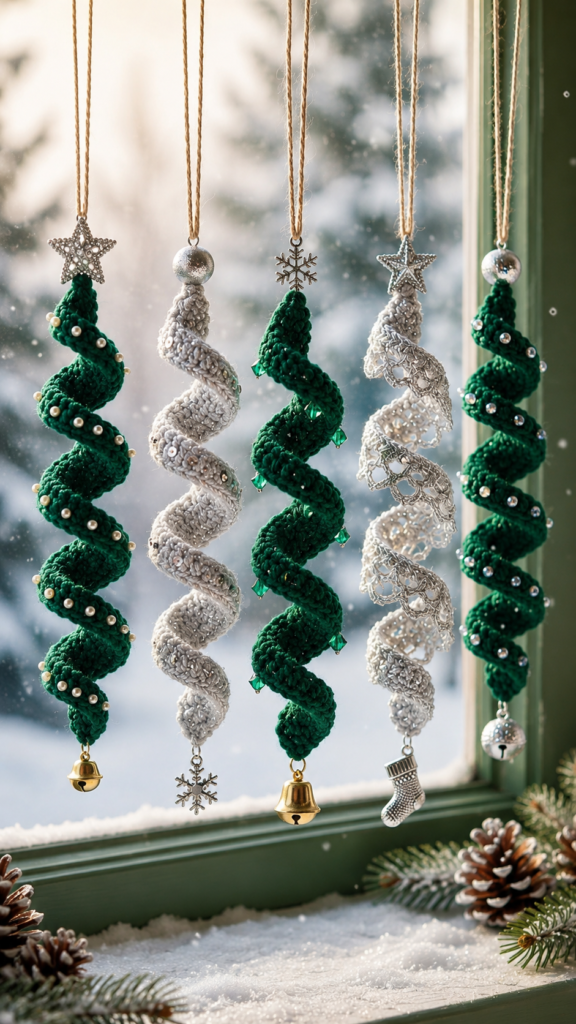
The image shows a hanging spiral Christmas tree ornament with a narrow top, gradually widening crochet sections, pearl/crystal decorations, a star or snowflake topper, and a bell or Christmas charm at the bottom.
The exact original designer’s written pattern is not visible, so this is a complete reconstructed pattern designed to closely reproduce the ornament in the photo.
Finished size
Approximately 25–35 cm long.
The length can easily be adjusted by changing the foundation chain.
Materials
For the green version:
- Green DK or worsted-weight yarn
- 3.5–4 mm crochet hook
- Small pearl or crystal beads
- Small gold or silver jingle bell
- Small metal star or snowflake
- Strong sewing thread
- Tapestry needle
- Scissors
- Optional fabric stiffener
- Optional metallic yarn or glitter thread
- Cotton cord or rustic twine for hanging
For the white version:
- White or silver yarn
- Silver metallic thread
- Pearl/crystal beads
- Silver snowflake or star
- Small Christmas stocking charm
Abbreviations
ch — chain
sc — single crochet
hdc — half double crochet
dc — double crochet
sl st — slip stitch
st — stitch
inc — increase
FO — fasten off
Main Spiral
The tree is made as a long triangular/widening crochet strip. When the strip is released and shaped, it naturally forms the spiral.
Foundation chain
Chain 61.
For a longer tree, use 71–81 chains.
For a shorter ornament, use 41–51 chains.
Row 1
Starting in the 2nd chain from the hook:
5 sc
5 hdc
50 dc
You should have a narrow beginning that gradually becomes taller toward the other end.
Ch 1 and turn.
Row 2
sc across the first 5 stitches.
hdc across the next 5 stitches.
dc across the remaining stitches.
Ch 1 and turn.
Row 3 – Increase
sc in the first stitch.
2 sc in the next stitch.
sc across the next 4 stitches.
2 hdc in the next stitch.
hdc across the next 4 stitches.
2 dc in the next stitch.
dc across the remaining stitches.
Ch 1 and turn.
Row 4
sc across the sc section.
hdc across the hdc section.
dc across the dc section.
Ch 1 and turn.
Row 5
Repeat Row 3.
Row 6
Repeat Row 4.
Continue alternating the increase and plain rows.
Every second row, increase slightly more toward the wider end.
The strip should gradually become wider and create a triangular shape.
More pronounced Christmas-tree shape
For the lower portion, use this increase sequence:
Next increase row
sc, 2 sc, sc across
2 hdc, hdc across
2 dc, dc across
Following row
Work all stitches normally.
Next increase row
Add 2 increases in the sc section.
Add 2 increases in the hdc section.
Add 2–3 increases in the dc section.
Following row
Work normally.
Continue until the widest portion measures approximately 6–8 cm.
Fasten off.
Weave in all ends.
Creating the Spiral
This is the most important part.
Lay the crochet piece flat.
Hold the narrow end at the top.
Starting from the top, gently curve the crochet strip around itself.
Allow each section to overlap slightly.
The loops should become progressively larger toward the bottom.
Do not force the crochet into a perfect circle. The irregular corkscrew shape is what creates the Christmas-tree appearance.
Secure the shape with a few tiny stitches on the back if necessary.
Optional Stiffening
For a more structured ornament:
- Lightly dampen the crochet.
- Shape it into the spiral.
- Pin it in place.
- Apply a small amount of fabric stiffener.
- Allow it to dry completely.
- Remove the pins.
This helps the spiral retain its shape.
Top Hanging Loop
At the narrow end:
Join yarn with a slip stitch.
Chain 25.
Slip stitch back into the same point.
Fasten off.
Alternatively, attach a 25–30 cm piece of rustic cord, as shown in the photograph.
Star Topper
A small purchased metal star works especially well for this design.
For a crocheted star:
Center
Magic ring.
10 sc into the ring.
Slip stitch to the first sc.
Points
For each point:
sl st into the next stitch.
ch 3.
dc in the same stitch.
ch 2.
sl st into the same stitch.
Repeat around for 5 points.
Fasten off.
Sew the star securely to the top of the spiral.
Snowflake Topper
For the white version, replace the star with a small snowflake charm.
Attach it to the hanging loop at the top of the crochet.
Silver metallic thread gives the closest appearance to the photograph.
Pearl Decoration
The green ornament in the photo is decorated with small pearl-like beads.
Use approximately 20–35 beads per ornament, depending on size.
Thread a needle with strong thread.
Sew each bead individually onto the raised portions of the spiral.
Place the beads irregularly rather than in a straight line.
This creates the handmade Christmas-tree appearance.
For a more elegant version, alternate:
- White pearls
- Clear crystals
- Silver beads
Crochet-in Beads
If you want the beads permanently incorporated into the crochet:
Before beginning, thread the beads onto your yarn.
When you reach a bead:
- Bring the bead close to the hook.
- Make the stitch normally.
- Slide the bead against the stitch.
- Complete the stitch.
Space the beads every few stitches.
Bottom Bell
At the bottom point, attach a small bell.
Use strong sewing thread.
Pass the needle through the final crochet stitches several times.
Attach the bell firmly.
For the green ornament, use a gold bell.
For the white ornament, use a silver bell.
Alternative Bottom Decorations
Instead of a bell, you can attach:
- Snowflake
- Mini Christmas stocking
- Christmas tree charm
- Star
- Large pearl
- Silver ornament
- Small jingle bell
The photograph shows different bottom decorations, so this can be customized.
Green Christmas Tree Version
Use:
Green yarn
Gold star
White pearl beads
Clear crystal beads
Gold bell
Natural jute hanging cord
This produces the closest traditional version.
White Winter Version
Use:
White yarn
Silver metallic thread
Pearl beads
Clear crystals
Silver star or snowflake
Silver stocking charm
Natural or silver hanging cord
For the lacy appearance shown in the photograph, use thinner yarn and a smaller hook.
Lace Version
For a more delicate white ornament, add a decorative edge.
Along the outer edge work:
sl st in next stitch.
ch 3.
2 dc in the same stitch.
ch 2.
sl st in the next stitch.
Repeat.
This creates a scalloped lace border.
For an even more open effect, substitute groups of:
dc, ch 2, dc
for solid stitches.
Finishing
After the ornament has been shaped:
- Attach the hanging cord.
- Attach the star or snowflake.
- Sew on the pearls.
- Add crystal beads if desired.
- Attach the bell or charm.
- Shape the spiral evenly.
- Stiffen if necessary.
- Allow everything to dry completely.