Butter Buttermilk Biscuits

Introduction:
Buttermilk biscuits, with their golden crusts and tender, flaky interiors, hold a special place in the hearts and stomachs of many. Whether served alongside a hearty breakfast, as a side for dinner, or simply enjoyed on their own, these delectable treats are a comfort food staple. Despite their seemingly simple ingredients, achieving the perfect buttermilk biscuit can be an elusive task. Fear not, for in this comprehensive guide, we will delve into the art and science of crafting the ultimate buttermilk biscuits. From selecting the finest ingredients to mastering the techniques that ensure fluffiness and flavor, you’ll soon be baking biscuits that will have everyone clamoring for more.
- The Importance of Ingredients:
- Flour: The foundation of any good biscuit, choosing the right flour is crucial. Opt for a high-quality, all-purpose flour with a protein content of around 9-11%.
- Butter: Cold, unsalted butter is key to achieving flakiness. Cut it into small cubes and keep it chilled until ready to use.
- Buttermilk: As the star ingredient, buttermilk lends a tangy flavor and tender texture to biscuits. Full-fat buttermilk is preferred for richness.
- Leavening Agents: Baking powder and baking soda work together to provide lift and lightness to the biscuits. Ensure they are fresh for optimal results.
- Salt: A pinch of salt enhances the flavor of the biscuits, balancing the sweetness of the buttermilk and butter.
- Mastering the Technique:
- Keep it Cold: Cold ingredients are essential for achieving flakiness. Chill your butter and buttermilk before using them, and work quickly to prevent them from warming up.
- Don’t Overwork the Dough: Overmixing the dough can result in tough biscuits. Mix just until the ingredients come together, and avoid kneading or handling the dough too much.
- Proper Folding: Folding the dough creates layers, resulting in a flaky texture. Use a gentle touch and fold the dough over itself several times before cutting out the biscuits.
- Uniformity in Size: For even baking, ensure that all the biscuits are the same size and thickness. Use a biscuit cutter or sharp knife to cut the dough into rounds, and avoid twisting the cutter to prevent sealing the edges.
- Baking to Perfection:
- Preheat the Oven: A hot oven ensures that the biscuits rise quickly and develop a golden crust. Preheat your oven to 425°F (220°C) and position the rack in the center.
- Proper Arrangement: Place the biscuits close together on a baking sheet, touching slightly. This encourages them to rise upwards rather than spread outwards.
- Golden Brown Finish: Bake the biscuits until they are golden brown on top, typically 12-15 minutes. Keep an eye on them towards the end to prevent over-browning.
- Let Them Rest: Allow the biscuits to cool slightly on the baking sheet before transferring them to a wire rack. This helps them set and develop their final texture.
- Serving Suggestions:
- Enjoy Warm: Buttermilk biscuits are best enjoyed fresh from the oven while still warm. Serve them with butter, jam, honey, or gravy for a delightful treat.
- Versatile Pairings: These biscuits complement a wide range of dishes, from fried chicken to sausage gravy to scrambled eggs. Get creative with your pairings and savor the deliciousness.
Conclusion:
Mastering the art of buttermilk biscuits requires a combination of quality ingredients, proper technique, and a little bit of patience. With the tips and tricks outlined in this guide, you’ll be well on your way to baking biscuits that are light, fluffy, and bursting with flavor. So preheat your oven, roll up your sleeves, and prepare to delight your taste buds with the irresistible allure of homemade buttermilk biscuits.
-

My grandpa s wrist is suddenly red hot and extremely swollen Why is this happening He is in severe pain and we need help
-

Noticed my daughter s fingers turn this color whenever it gets slightly cold It looks terrifying and she says they go numb Pediatrician is booked out Help
-

Found this weird shield shaped bug crawling on my curtains in the middle of winter It moves really slowly and has a speckled brown back Is this going to bite or infest my house
-

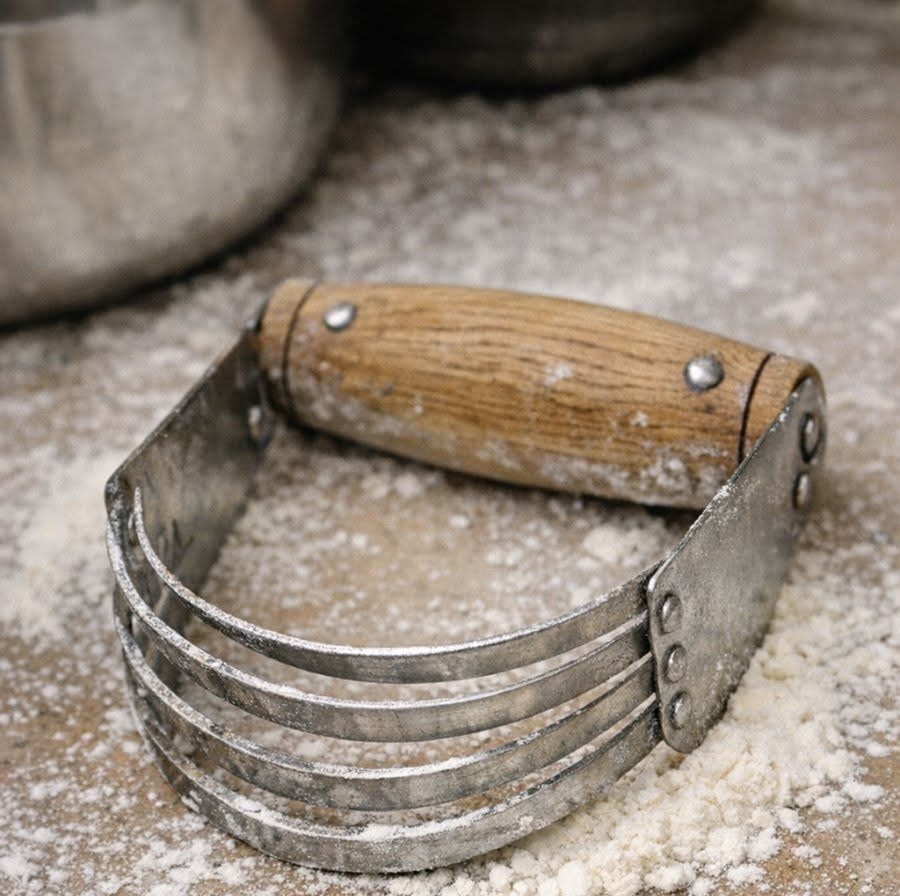
Spotted this U shaped tool with multiple metal blades in my grandmother s baking bin It has a wooden handle but looks like some kind of strange knuckles