Introduction
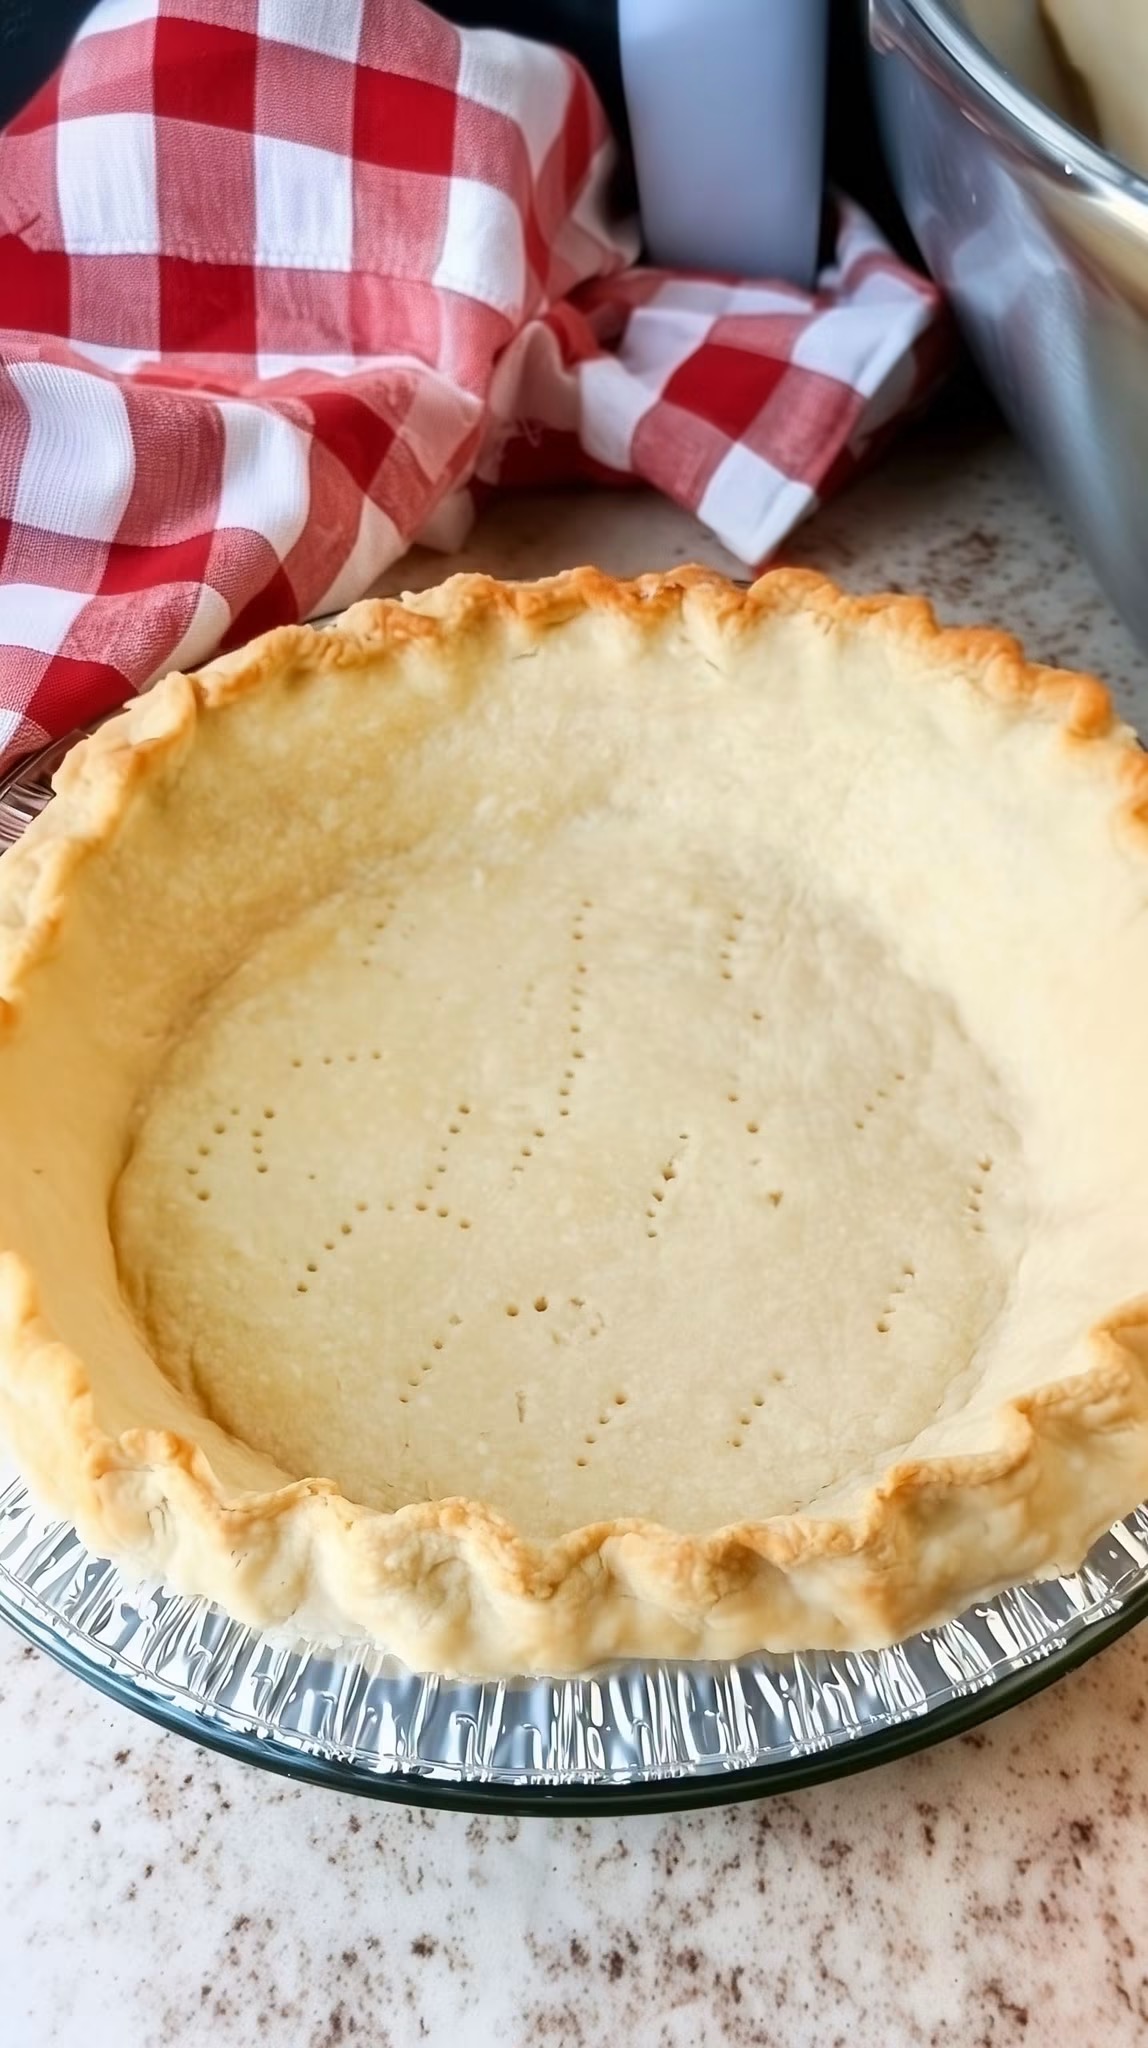
A perfectly blind baked pie crust is the foundation of many delicious desserts and savory pies. Blind baking helps create a crisp, flaky crust that stays firm even when filled with creamy custards, fresh fruit, or no-bake fillings. This simple technique prevents a soggy bottom and gives your pie a beautiful golden finish.
Instruction
Ingredients
1 homemade or store-bought pie crust
Parchment paper or aluminum foil
Pie weights, dried beans, or uncooked rice
Method
Preheat your oven to 375°F (190°C).
Roll out the pie dough and gently place it into a 9-inch pie dish.
Press the dough into the bottom and sides without stretching it.
Trim any excess dough and crimp the edges as desired.
Use a fork to prick the bottom and sides of the crust several times.
Line the crust with parchment paper or foil.
Fill the lined crust with pie weights, dried beans, or rice.
Bake for 15 to 20 minutes.
Carefully remove the parchment paper and weights.
Return the crust to the oven and bake for another 8 to 12 minutes, or until lightly golden for a partially baked crust, or 12 to 15 minutes for a fully baked crust.
Let the crust cool completely before adding your filling.
Benefits
Creates a crisp, flaky pie base.
Prevents the crust from becoming soggy.
Ideal for custard, cream, fruit, and no-bake pies.
Produces an evenly baked and attractive crust.
Easy to prepare with simple kitchen tools.
Nutrition
Approximate per slice (1/8 of crust)
Calories: 170
Carbohydrates: 18g
Protein: 2g
Fat: 10g
Saturated Fat: 4g
Fiber: 1g
Sugar: 1g
Sodium: 120mg
Tips
Chill the prepared crust for 20 to 30 minutes before baking to reduce shrinking.
Dock the crust with a fork to help prevent bubbles.
Always use pie weights for the first bake to maintain the crust’s shape.
Allow the crust to cool completely before adding cold or creamy fillings.
For extra shine and protection, brush the baked crust with a lightly beaten egg white during the last few minutes of baking.
Conclusion
A perfectly blind baked pie crust is the key to professional-looking pies with a crisp, buttery texture. With just a few simple steps, you’ll have a sturdy, golden crust that’s ready for your favorite sweet or savory fillings every time.