
Introduction
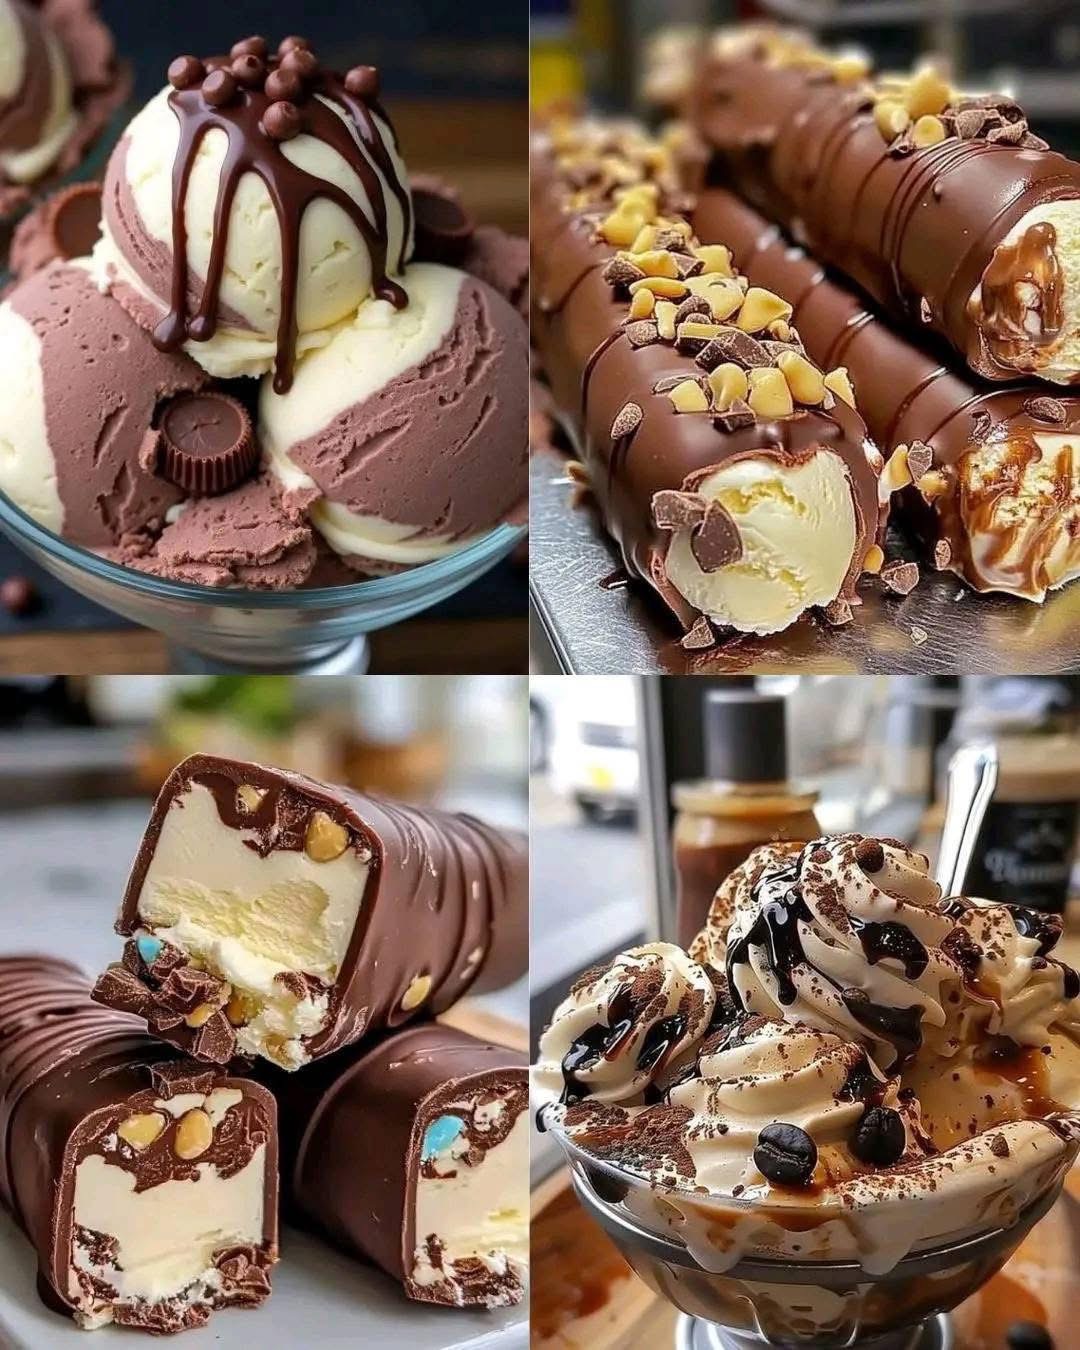
Chocolate ice cream is one of the world’s most beloved frozen desserts. Rich, creamy, and indulgent, it offers a perfect balance between sweetness and the deep, earthy flavor of cocoa. Whether served in a bowl, cone, or alongside warm desserts, chocolate ice cream never fails to please both kids and adults. Making it at home allows you to control the quality of ingredients and create a treat that’s far superior to store-bought versions.
A Little History
The origins of ice cream date back to ancient China, where frozen milk and rice were mixed into early frozen desserts. By the 17th century, Italy and France refined the art of ice creams and sorbets. Chocolate ice cream specifically appeared in Italy in the late 1600s, soon after the arrival of cocoa beans in Europe. By the 18th century, it became a luxury dessert served to aristocrats. Today, it’s one of the top three most popular ice cream flavors worldwide (alongside vanilla and strawberry).
Benefits of Chocolate Ice Cream
- Mood booster: Cocoa contains serotonin and phenylethylamine, which can elevate mood.
- Energy source: Packed with carbs and fats, giving quick energy.
- Calcium rich: Great for strong bones and teeth.
- Antioxidants: Dark chocolate or cocoa powder contains flavonoids that support heart health.
- Homemade advantage: No artificial preservatives, flavorings, or excess sugar.
Ingredients (Makes about 1 liter / 1 quart)
- 2 cups (500 ml) heavy cream
- 1 cup (250 ml) whole milk
- ¾ cup (150 g) granulated sugar
- ½ cup (50 g) unsweetened cocoa powder
- 150 g (5 oz) dark chocolate (70% cocoa, chopped)
- 4 large egg yolks
- 1 teaspoon vanilla extract
- Pinch of salt
(Optional mix-ins: chocolate chips, brownie chunks, caramel swirls, or nuts)
Instructions
Step 1: Prepare the Chocolate Base
- In a medium saucepan, combine the milk, sugar, cocoa powder, and salt.
- Heat gently over medium heat, whisking until smooth and steaming (do not boil).
- Add the chopped dark chocolate and stir until completely melted.
Step 2: Temper the Egg Yolks
- In a separate bowl, whisk the egg yolks.
- Slowly pour in about ½ cup of the hot chocolate mixture while whisking constantly (to prevent curdling).
- Pour the tempered yolks back into the saucepan.
Step 3: Cook the Custard
- Cook over low heat, stirring constantly with a wooden spoon, until the mixture thickens enough to coat the spoon (about 170–175°F / 77–80°C).
- Remove from heat and stir in vanilla extract.
Step 4: Chill the Mixture
- Pour the custard through a fine-mesh sieve into a bowl.
- Stir in the heavy cream.
- Cover and refrigerate for at least 4 hours or overnight until completely cold.
Step 5: Churn the Ice Cream
- Pour the chilled mixture into an ice cream maker.
- Churn according to manufacturer’s instructions (usually 20–25 minutes).
- When nearly done, fold in any mix-ins (chips, nuts, brownies, etc.).
Step 6: Freeze Until Firm
- Transfer to a freezer-safe container.
- Cover with parchment or plastic wrap to prevent ice crystals.
- Freeze for at least 4–6 hours before serving.
Variations
- Vegan Chocolate Ice Cream: Replace milk and cream with coconut milk and cashew cream; use maple syrup instead of sugar.
- Sugar-Free Version: Use erythritol or monk fruit sweetener.
- Double Chocolate Fudge: Add a swirl of warm fudge sauce before freezing.
- Spiced Chocolate: Add cinnamon, chili powder, or espresso for a kick.
Serving Suggestions
- Scoop into waffle cones or bowls.
- Pair with warm brownies, cookies, or apple pie.
- Make ice cream sandwiches.
- Blend into milkshakes.
Nutrition (Per ½ cup serving, approximate)
- Calories: 250
- Fat: 17 g
- Carbohydrates: 24 g
- Protein: 5 g
- Calcium: 10% DV
- Iron: 8% DV
Conclusion
Homemade chocolate ice cream is a timeless dessert that combines rich flavors with creamy texture. Whether enjoyed plain or enhanced with toppings, it delivers comfort and joy in every spoonful. Perfect for family gatherings, celebrations, or simply indulging yourself, this recipe ensures you’ll never need store-bought chocolate ice cream again.