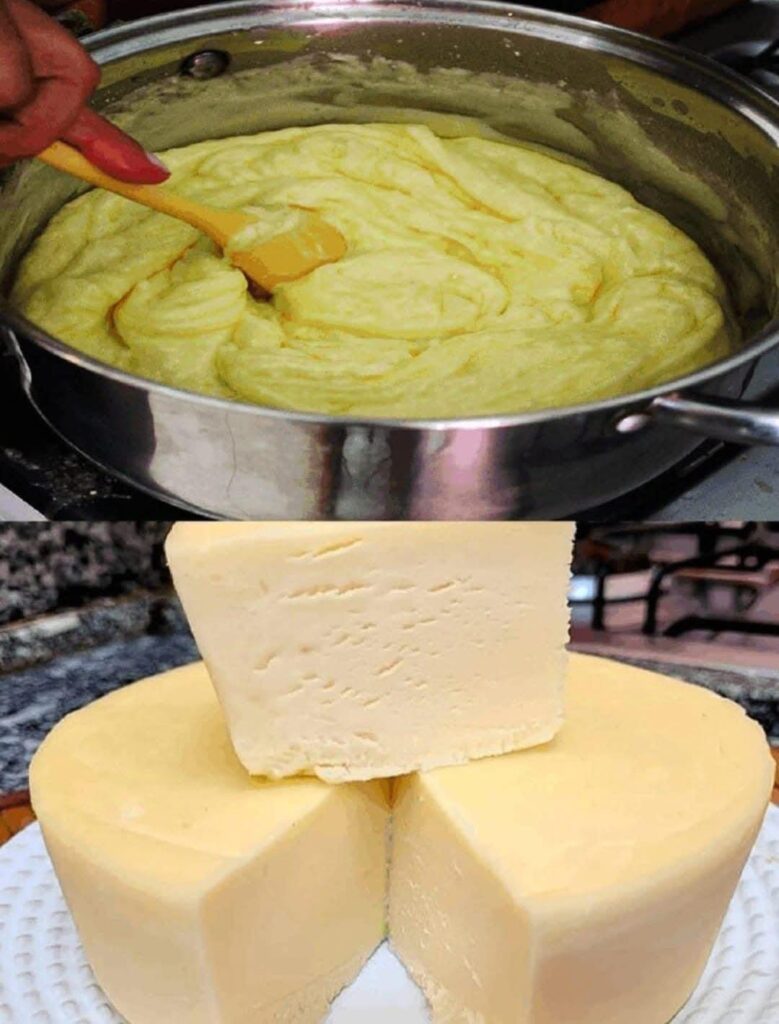
Homemade Cheese Recipe

Homemade Cheese Recipe
Introduction
Making cheese at home is a fulfilling and creative way to bring a touch of tradition and artistry to your kitchen. This recipe results in a creamy, versatile cheese that can be used for sandwiches, baked dishes, or simply enjoyed on its own.
Cheesemaking dates back thousands of years, originating as a way to preserve milk. This timeless craft combines science and art, connecting you to generations of culinary traditions.
History
Cheese production is believed to have begun over 8,000 years ago when humans started domesticating animals for milk. Ancient civilizations like the Egyptians, Greeks, and Romans developed their own unique varieties. Today, cheesemaking remains a beloved practice worldwide, showcasing the diversity of cultures and flavors.
Benefits
- Rich in Protein: Cheese is a good source of high-quality protein, essential for muscle repair and growth.
- Calcium Boost: Supports strong bones and teeth.
- Probiotic Properties: Certain cheeses help promote gut health.
- Customizable Nutrition: Homemade cheese allows you to control salt, fat, and other additives for a healthier option.
Ingredients
- 4 liters (1 gallon) of whole milk (pasteurized but not ultra-pasteurized)
- 1/4 cup lemon juice or white vinegar
- 2 tablespoons unsalted butter (optional, for creamier texture)
- 1 teaspoon salt (adjust to taste)
Instructions
Step 1: Preparing the Milk
- Pour the milk into a large pot and place it on medium heat.
- Stir gently as it warms to prevent sticking. Heat the milk to about 85°C (185°F), but do not let it boil.
Step 2: Adding the Acid
- Slowly add lemon juice or vinegar while stirring. You’ll see the milk curdling and separating into curds (solid) and whey (liquid).
- Continue stirring for 1-2 minutes to ensure proper separation. Turn off the heat and let it sit for 10 minutes.
Step 3: Straining the Curds
- Line a colander with a cheesecloth and place it over a large bowl.
- Carefully pour the curdled mixture into the colander, letting the whey drain off. Gather the cloth and squeeze out excess liquid.
Step 4: Forming the Cheese
- Transfer the curds to a bowl and mix in the butter and salt.
- Knead the curds to a smooth texture, then place them in a mold or shape them by hand.
- Press the cheese with a weight (e.g., a heavy pot) for about 2-4 hours to firm it up.
Step 5: Refrigeration
- Unmold the cheese and refrigerate for at least 4 hours before serving.
Nutritional Information (per 100g)
- Calories: 280
- Protein: 18g
- Fat: 22g
- Calcium: 500mg
- Carbohydrates: 1g
- Sodium: 150mg
Lovers of Homemade Cheese
This recipe is cherished by those who enjoy cooking from scratch and experimenting with wholesome ingredients. It’s a perfect project for cheese enthusiasts, families looking for a bonding activity, and anyone curious about artisanal food production.
Conclusion
Homemade cheese is more than just a recipe; it’s a gateway to exploring food culture and appreciating culinary traditions. The joy of crafting your cheese ensures a fresher taste, better control over ingredients, and immense satisfaction. Whether you’re pairing it with wine, adding it to a dish, or savoring it alone, this homemade creation is bound to impress.
