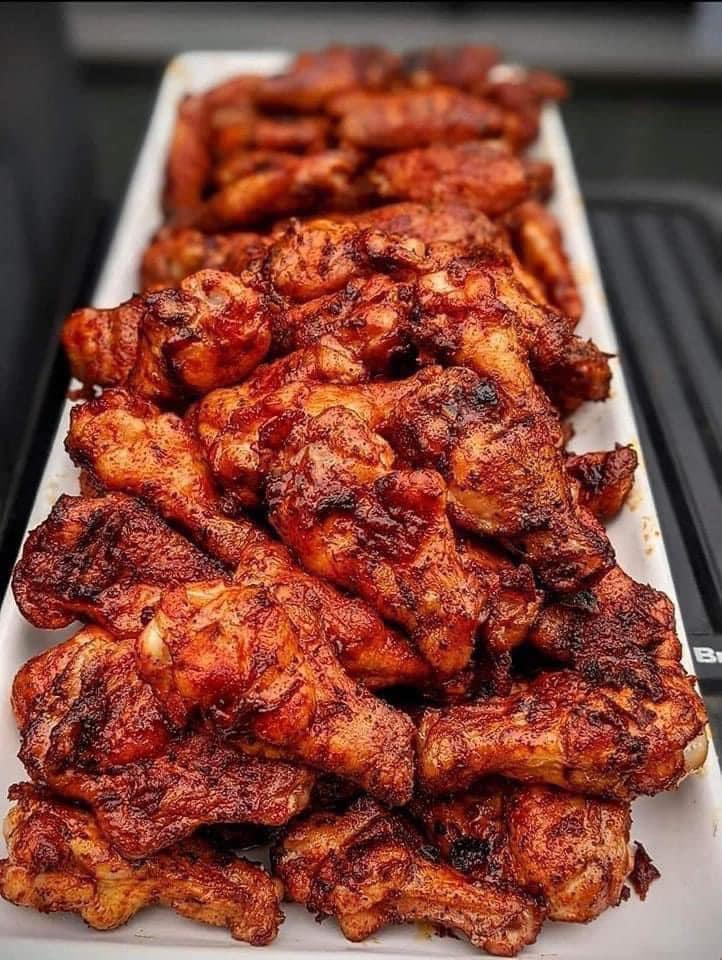
Ingredients:
- 2 pounds chicken wings
- 1 tablespoon paprika
- 1 tablespoon garlic powder
- 1 tablespoon onion powder
- 1 teaspoon salt
Instructions:
- Preheat your oven to 400°F (200°C) and line a baking sheet with parchment paper or aluminum foil.
- In a large bowl, combine the paprika, garlic powder, onion powder, and salt. Mix well to ensure all the spices are evenly distributed.
- Pat the chicken wings dry with paper towels to remove any excess moisture. This will help the seasoning stick better to the chicken.
- Add the chicken wings to the bowl with the seasoning mixture. Use your hands to toss the chicken wings until they are evenly coated with the spices.
- Arrange the seasoned chicken wings in a single layer on the prepared baking sheet.
- Bake the chicken wings in the preheated oven for 40-45 minutes, or until they are golden brown and crispy, flipping them halfway through cooking to ensure even browning.
- Once the chicken wings are cooked through and crispy, remove them from the oven and let them cool for a few minutes before serving.
- Serve the delicious chicken wings hot with your favorite dipping sauce, such as barbecue sauce, ranch dressing, or blue cheese dressing.

- Preheat the Oven: Ensure your oven is preheated to 400°F (200°C) before you start preparing the chicken wings. This step ensures that the oven is hot enough to cook the wings properly.
- Prepare the Seasoning Mixture: In a large mixing bowl, combine the paprika, garlic powder, onion powder, and salt. Stir the ingredients together until they are well blended. Adjust the seasoning to taste if desired.
- Prepare the Chicken Wings: Before seasoning the chicken wings, pat them dry with paper towels. Removing excess moisture from the wings helps the seasoning to adhere better and promotes crispiness during baking.
- Coat the Chicken Wings: Add the dried chicken wings to the bowl with the seasoning mixture. Use your hands or a spoon to toss the wings until they are evenly coated with the spice blend. Make sure each wing is well covered with seasoning for maximum flavor.
- Arrange on Baking Sheet: Line a baking sheet with parchment paper or aluminum foil to prevent the chicken wings from sticking. Arrange the seasoned chicken wings in a single layer on the baking sheet, ensuring that they are not overcrowded. This allows the wings to cook evenly and become crispy.
- Bake the Chicken Wings: Place the baking sheet with the seasoned chicken wings in the preheated oven. Bake for 40-45 minutes, or until the wings are golden brown and crispy. Remember to flip the wings halfway through the cooking time to ensure they cook evenly on both sides.
- Cool and Serve: Once the chicken wings are cooked to perfection, remove them from the oven and let them cool for a few minutes before serving. This allows the wings to firm up slightly and makes them easier to handle. Serve the delicious chicken wings hot with your favorite dipping sauce.
- Enjoy!: Sit back, relax, and enjoy your delicious homemade chicken wings! Whether you’re serving them as a snack, appetizer, or main dish, these flavorful wings are sure to be a hit with family and friends. Don’t forget to pair them with your favorite dipping sauce for extra enjoyment.
- Paula Deen’s 5-Minute Fudge (Classic Southern Style)
 C’est This old-fashioned fudge is a Southern favorite because it’s fast, foolproof, and ultra-creamy. No candy thermometer, no complicated steps—just smooth chocolate goodness loaded with crunchy pecans. Ingredients Instructions (Ready in Minutes!) Prepare the Pan Heat the Base Melt the … Read more
 - Pecan Sandies (Classic Butter Pecan Cookies)
 This recipe has been my top pick this month—I’ve made it six times, and it’s still just as magical every single batch. Pecan Sandies are a timeless cookie, celebrated for their tender, crumbly texture and deep buttery flavor. Each bite … Read more
 - Chocolate Caramel Peanut Bars Homemade Candy Bars
 Introduction These chocolate caramel peanut bars are a classic homemade candy that tastes just like your favorite chocolate bar—but fresher, richer, and made with love. Layers of crunchy peanuts, soft caramel, and smooth chocolate come together to create a perfect … Read more