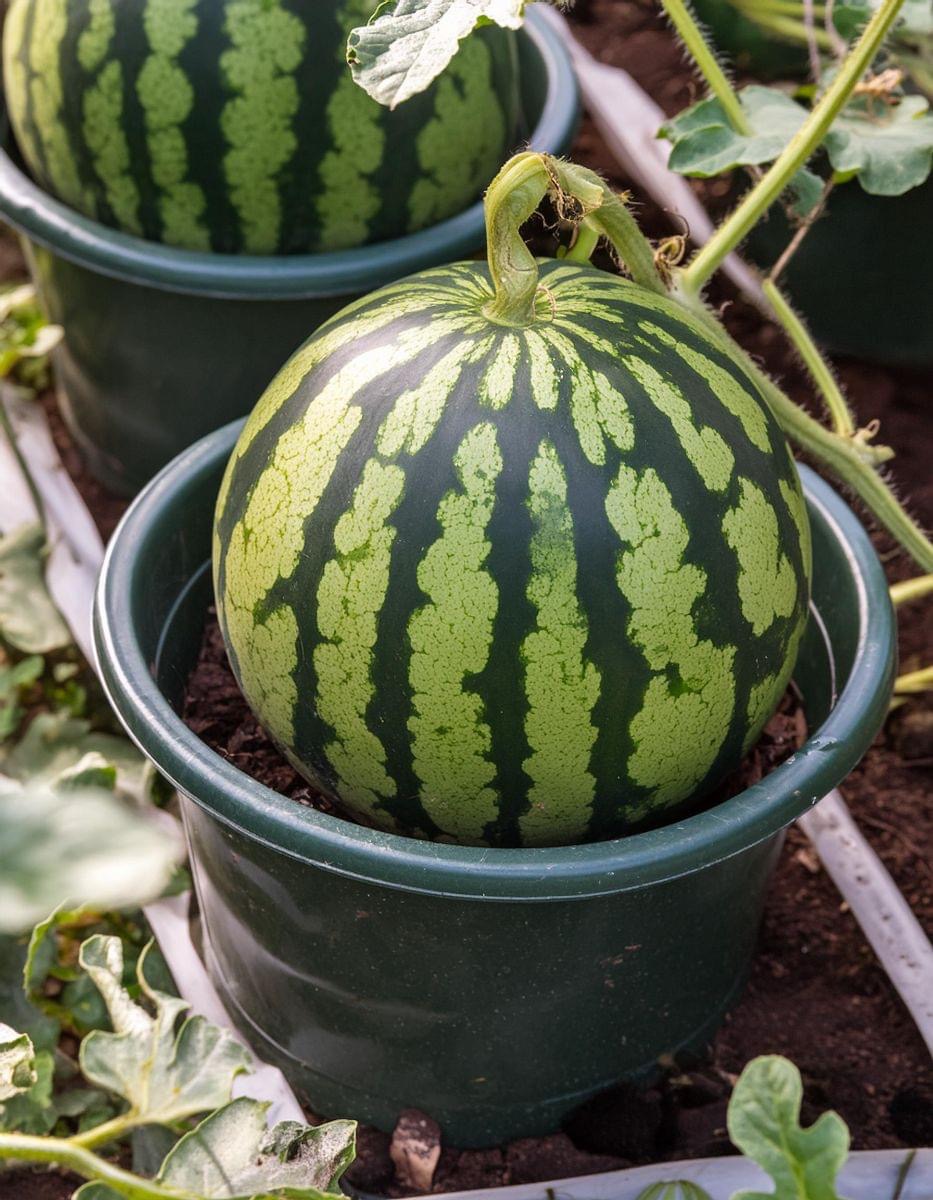
Grow watermelons with ease at home in containers. Here’s how
Growing your own watermelons can bring a new level of excitement and satisfaction to your gardening efforts, especially if you’re working with limited space. While many might assume that watermelons require vast fields to flourish, modern gardening techniques have made it possible to grow these delightful fruits in containers. Not only does this allow for gardening in small spaces, but it also provides control over the growing conditions, leading to potentially healthier and tastier melons.
This guide is tailored for anyone interested in exploring an innovative approach to gardening. Whether you lack garden space or simply want to try something new, growing watermelons in containers offers an exciting challenge with delicious rewards. Full details on the process are provided below to ensure your gardening venture is both successful and enjoyable.
Step 1: Choose the Right Variety
- Opt for bush-type or mini watermelon varieties such as ‘Sugar Baby’ or ‘Bush Sugar Baby’, which are ideal for container planting due to their compact vine size.
- Investigate varieties that are known for being disease-resistant to enhance the likelihood of a healthy growth period.
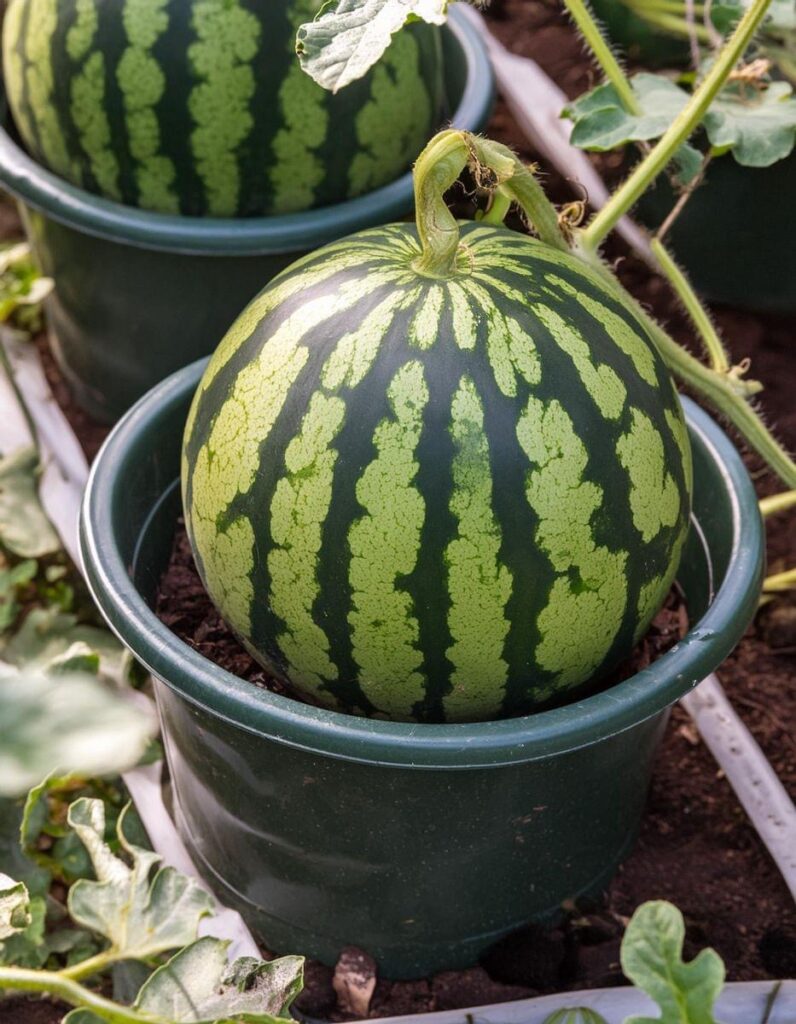
Step 2: Select an Appropriate Container - Ensure that the container is large enough to accommodate the plant’s root system; a minimum of 5 gallons is recommended for optimal growth.
- Choose containers with adequate drainage holes to prevent waterlogging, which can lead to root rot and other health issues for your watermelon.
Step 3: Prepare the Soil and Plant - Use a high-quality potting mix rich in organic material. Avoid using garden soil as it may be too heavy and could contain pathogens.
- Mix in a balanced, slow-release fertilizer to provide continuous nutrients throughout the growing season.
- Plant seeds or seedlings after the last frost date to avoid cold damage.
Step 4: Water and Maintain Your Plants - Watermelons require a lot of water, so consistent watering is vital. Keep the soil evenly moist but not soggy.
- Place the container in a location that receives at least 6-8 hours of sunlight daily.
- Monitor for pests and diseases, and take appropriate actions quickly to prevent spread.
Step 5: Harvest Your Watermelons - Harvest time typically comes about 80-90 days after planting, depending on the variety.
- Look for signs of ripeness such as the yellowing of the bottom of the fruit and a dull, hollow sound when tapped.
By following these detailed steps, you’ll be able to grow juicy, delicious watermelons right from the comfort of your home, even without a traditional garden. This method not only saves space but also allows for easier monitoring and maintenance, making it a perfect choice for those new to gardening or those experienced looking for a new challenge. Enjoy the fruits of your labor and the excitement of watching your watermelons grow